Showing posts with label Jessiah's Quilt. Show all posts

5.21.2010

Modern Quilt


Here is the whole process showing how this Modern Quilt was made for my son's 18th birthday.

Front


Back


To create this modern quilt I started with small amounts of 4 different prints. Then I found Kona solid fabrics that matched, a light grey and black. I decided on the darker grey to become the main fabric for the sashing - the fabric between the main squares.

Without prewashing the fabrics, I began to cut strips to make blocks. To build each square, as I sewed together 2 strips of fabric on my machine, I then ironed it and squared the edges with my ruler, mat and cutter before connecting the next piece. It is alot of up and down from the machine to the ironing board, then the cutting mat, but it really didn't take too long.


There are 4 blocks with light grey as the background, and 6 more with black as the background. I made the 4 squares with the light grey background first, then tried to make the next 6 squares with the black background in varying shapes.


I just laid them out as you see here. No measuring, really. I just made a guess at each piece, arranging them quite at a whim.


I then added the darker grey sashing forming them into the bigger shapes you see below. I essentially ended up with one long rectangle (farthest left strip), 2 smaller rectangles (top middle and top right strips) and one other rectangle (bottom right strip).

I tried to place the black & grey squares in different places in an effort to create negative space. I didn't want everything centered.

Notice that all this is laid on top of a previous quilt I had made that was the size I was aiming for. You probably also found that I am not the most precise person. No measuring or planning ahead for me on this project.


I then sewed all the strips together to complete the front piece of my modern quilt!


Next, I used remaining scraps to make a long strip the width of the quilt. I sewed solid pieces of the same dark grey as used for the sashing to this strip to make the back of the quilt, then basted the quilt sandwich with safety pins on my kitchen floor - while watching a good movie with the family, of course.


Next came the free-motion quilting. I used a basic stippling design.


Next, the binding.
I had a hard time deciding on the binding. I usually prefer to use remaining scraps, but I felt this quilt was so random that it almost needed one solid binding to frame it. What do you think?


I do hope this tutorial helps you get out the fabric and start cutting & sewing
your own modern quilt without a pattern!
And please please please show me what you create as a result!


One thing you have to know about me is that I do all my projects around the house in the midst of my family. No special room. Just the kitchen table, the bed, and the kitchen floor. (Don't let a small home discourage you from being creative!) Since we have a pretty small house, that keeps me in the middle of all the family action. And it inspires my kids to do their own projects, too. Since we are a homeschool family, that means that sometimes I drill my elementary kids on their Latin or spelling between stitches. It also can mean that we all will ditch the academics to pull out the paint or fabrics. Here is a picture of our Creative Kitchen Table today. This was a Nerf gun modification project taken from youtube.


Ok. So it wasn't a pretty project. But I love that they do such things!

5.18.2010

Modern Quilt - Sneak Peak

Here are a few i phone pics of Siah's (very) belated 18th birthday quilt.


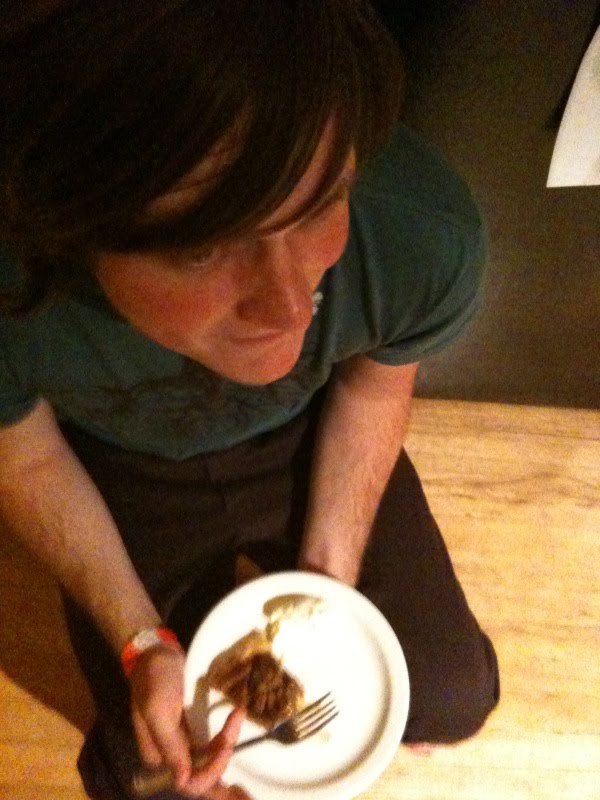
We even surprised him by singing the grand birthday song. It was a last minute event, really. I just finished it at martial arts this evening, stopped at TJ's to pick up a pecan pie to stick a candle in, then went home and threw the quilt in the washer & dryer to make it all quilty.

More pictures soon. I'm without a camera for a few more days.

4.26.2010

Free Motion Quilting - Jessiah's Quilt

Between Spelling, Latin, Science, and laundry, here is what I am doing...


Whew. A long way to go still!

4.23.2010

Jessiah's Quilt

Here I am basting together the quilt sandwich with Jane Eyre on in the background to keep me company. Not the happiest of movies, I know.


Here is a closer look at the back of the quilt. I made this strip using all the remaining scraps from the front.


Now I'm off to some free-motion quilting. From this point on, I am to keep it hidden from Jessiah. He chose the type of free-motion to be used, then told me he doesn't want to see it again till its done so it will be somewhat of a surprise.

Once my kids hit a certain age, I like to get their opinions on such things. That way I can get or do things that are truely to their liking. Let's face it. I would not have picked skeleton heads. And I don't like the surprise of their not liking my surprise for them.

2.25.2010

Jessiah's Quilt - Grey Accomplished


This shows how I fit my puzzle together. I worked from squares to larger strips, finally sewing them together. Again, alot of jumping from sewing, to ironing, to squaring up with cutting mat, then back to my bedroom to figure out which piece goes next.


I am hopeful that the quilting will make the seams less noticable and that it will look like one big charcoal quilt with random squares on it.


Time to set it aside for a while and think about the back...
And some family times this weekend to prepare for...

Jessiah's Quilt - Filling in the grey

This is what I am doing today as well as a serious school day at home:


I laid the squares out on the back of my other quilt that is the size I am aiming for. I decided to eliminate a few of the squares so there is more space between. Yikes. What have I gotten myself into? I have never made anything so random before. Filling in all the spaces is a puzzle to me. Here I go!

2.15.2010

Jessiah's Quilt

 I am working on a rather random design for my oldest son's quilt. Here it is before being pieced together.


There are 6 squares with light grey as the background, and 6 more with black as the background. I created them 6 at a time. I just laid them out as you see here. No measuring, really. I just make a guess at each piece, arranging them quite at a whim. As I sewed 2 pieces together on my machine, I then ironed it and squared the edges with my ruler, mat and cutter before connecting the next piece. It is alot of up and down from the machine to the ironing board, then the cutting mat, but it really didn't take too long.


I made all 12 squares this evening inbetween watching the Olympics and snuggling up on the couch with the boys. The 2 younger ones, for those that were wondering. I have 3 boys. I tend to call the 2 younger ones "the boys" while Siah, who turns 18 this month, retains his name. And we don't snuggle on the couch any more.
Related Posts Plugin for WordPress, Blogger...